Add Swagger UI to Nodejs Express REST API: Simple Setup Guide
- 19 Dec 2025
Efficient QA and front-end integration depend on a strong API documentation. For developers working with nodejs. In this guide, we’ll integrate Swagger, one of the most popular documentation tools into a nodejs + express project using swagger-ui-express and swagger-autogen so that both your team and your testers can interact with your API smoothly. Let's start!
1. Install Dependencies
Run the following command in your project directory:
npm install swagger-ui-express swagger-autogen
These dependencies will allow you to generate and serve Swagger documentation for your API.
2. Create the Swagger Configuration File
Add a file called swagger.js in your project root (or inside a /swagger folder if you prefer), then add the following:
// swagger.js
import swaggerAutogen from "swagger-autogen";

const doc = {
  info: {
    title: "Articles API",
    description: "RESTful API for managing articles",
  },
  host: "localhost:8080", // Change for production
  schemes: ["http"],
  basePath: "/api", // If you don't want a route prefix just remove it
  definitions: {
    Article: {
      title: "Example Article",
      description: "This is an example description",
      published: false,
    },
  },
};

const outputFile = "./swagger-output.json";
const endpointsFiles = ["./src/routes/article.routes.js"]; // Change for your routes file is

swaggerAutogen({ openapi: "3.0.0" })(outputFile, endpointsFiles, doc)
  .then(() => {
    console.log("✅ Swagger documentation generated!");
  })
  .catch((err) => console.error(err));
note
Tip: basePath ensures all your routes include /api if your router is mounted like app.use("/api", router). Otherwise, just leave it like /
3. Generate the Swagger JSON
Before running the generator, add this line to your package.json (if not already there):
"scripts": {
  "swagger-autogen": "node swagger.js"
}
Then run:
npm run swagger-autogen
You should see:
Swagger documentation generated!
This creates the swagger-output.json file with all your API endpoints.
4. Serve Swagger UI in Your Server
If you haven’t installed swagger-ui-express, do so now:
npm install swagger-ui-express
Then, in your server.js file, add the following depending on your Node.js version:
Node < 22
import swaggerUi from "swagger-ui-express";
import { createRequire } from "module";
const require = createRequire(import.meta.url);
const swaggerFile = require("./swagger-output.json");

app.use("/api-docs", swaggerUi.serve, swaggerUi.setup(swaggerFile));
Node 22+ (ESM with assert { type: "json" })
import swaggerUi from "swagger-ui-express";
import swaggerFile from "./swagger-output.json" assert { type: "json" };

app.use("/api-docs", swaggerUi.serve, swaggerUi.setup(swaggerFile));
note
For Node < 22, using createRequire avoids syntax issues with JSON imports.
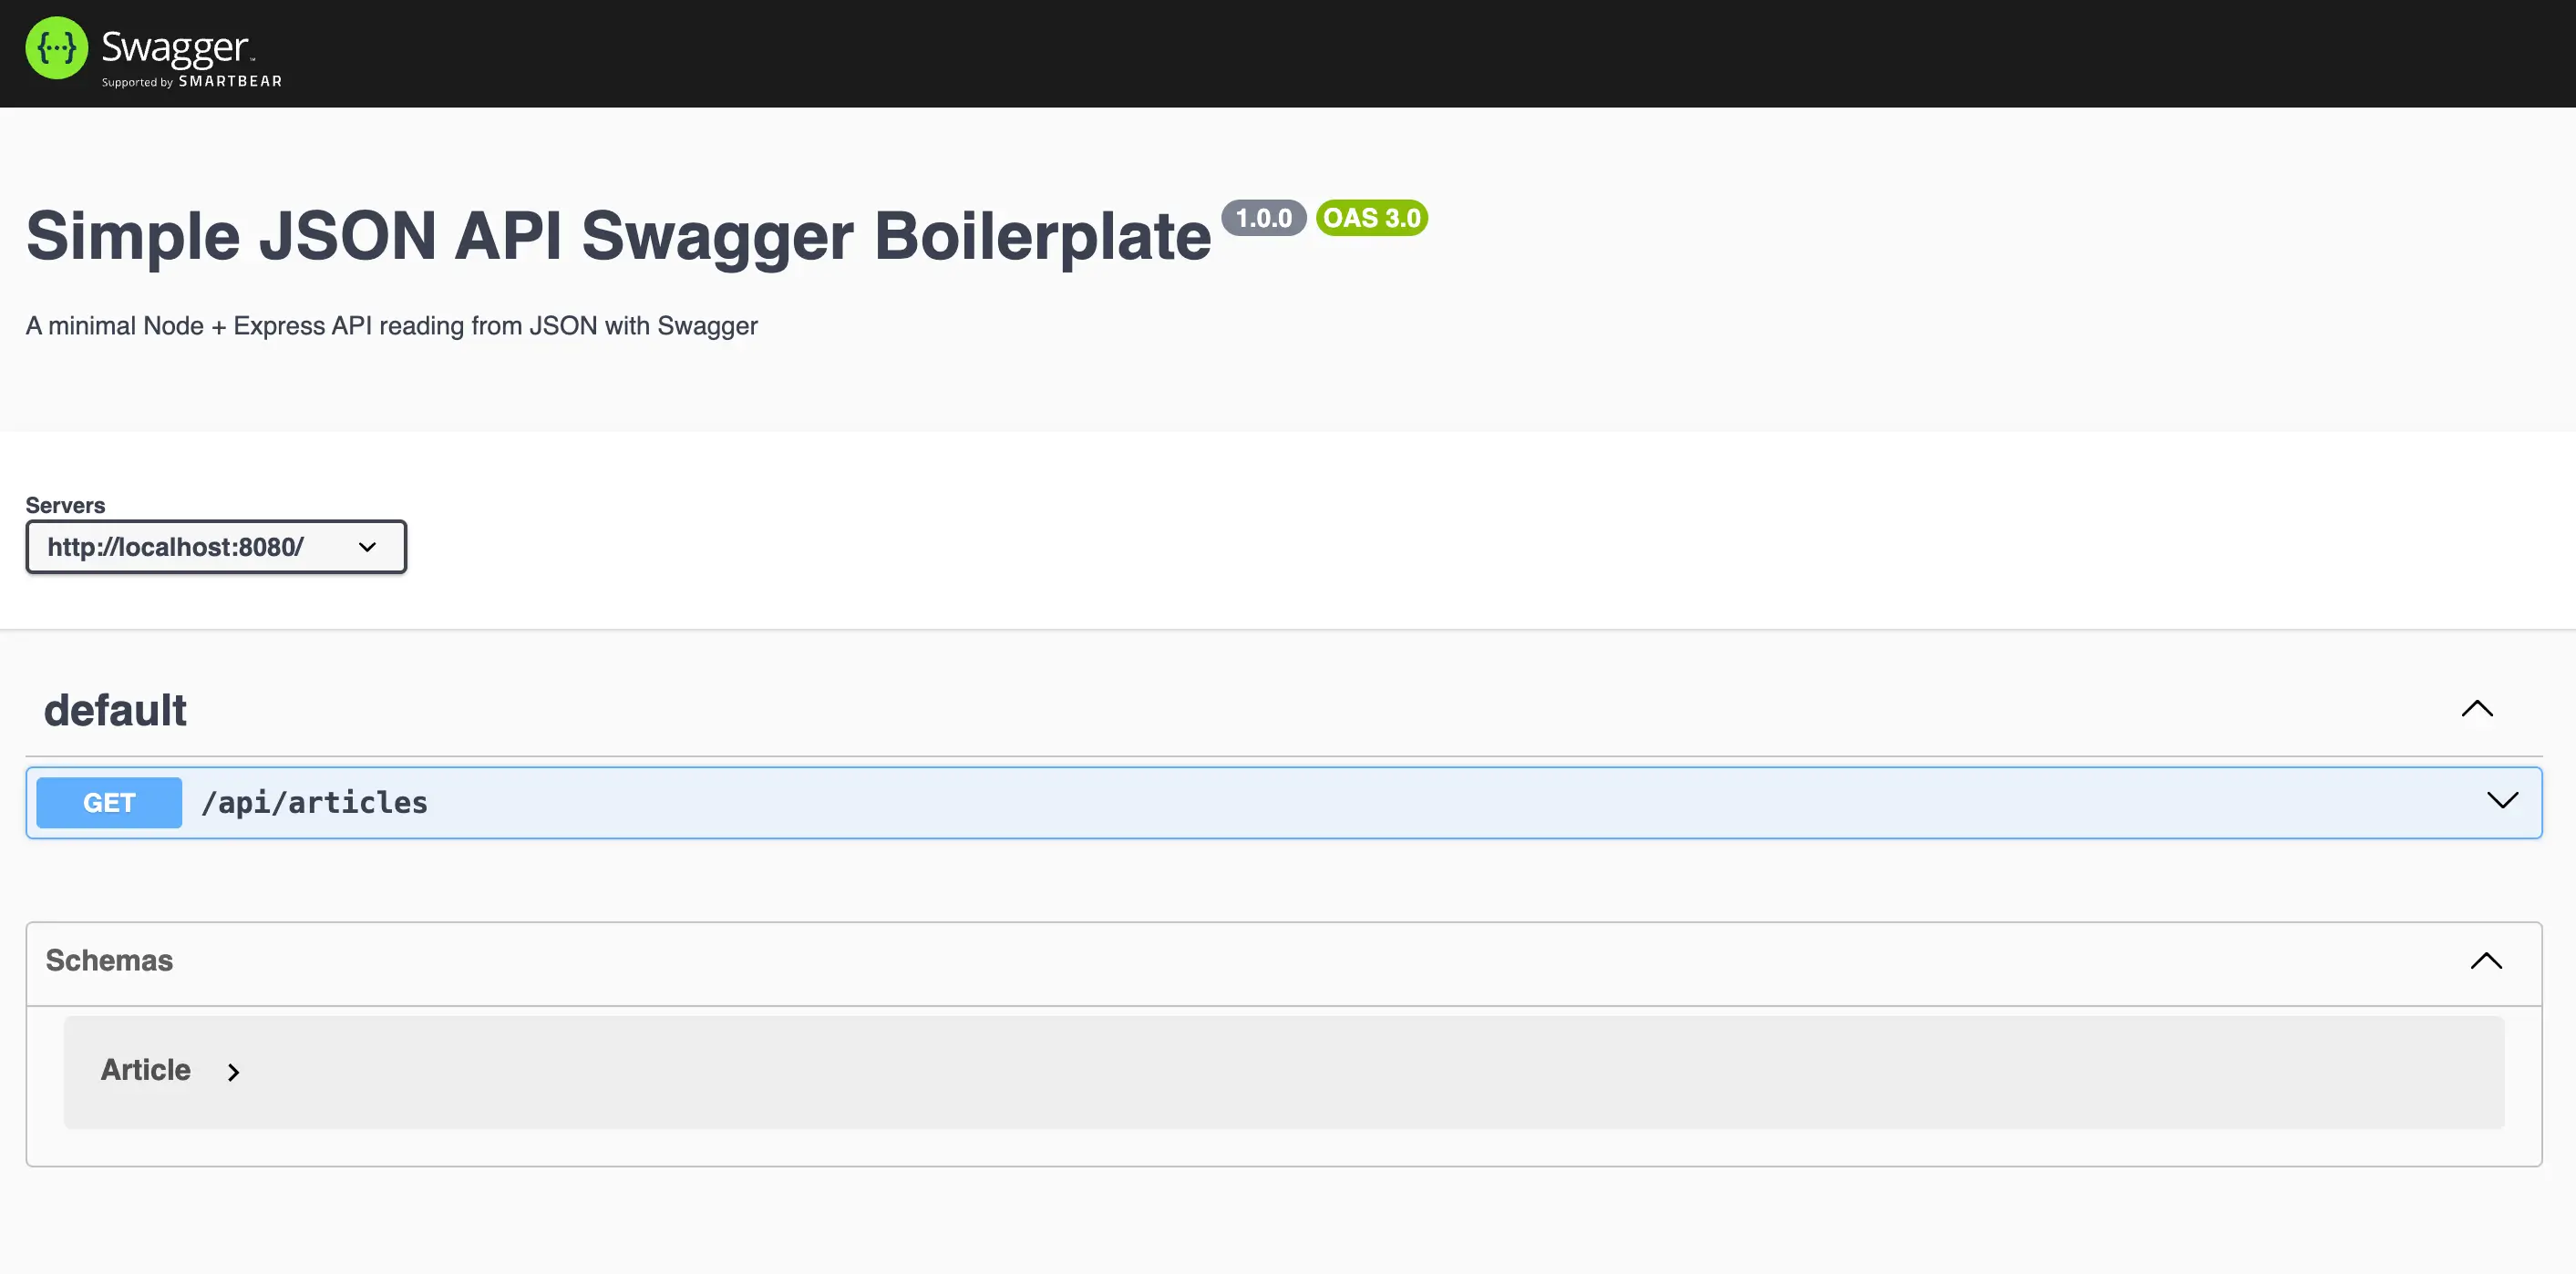
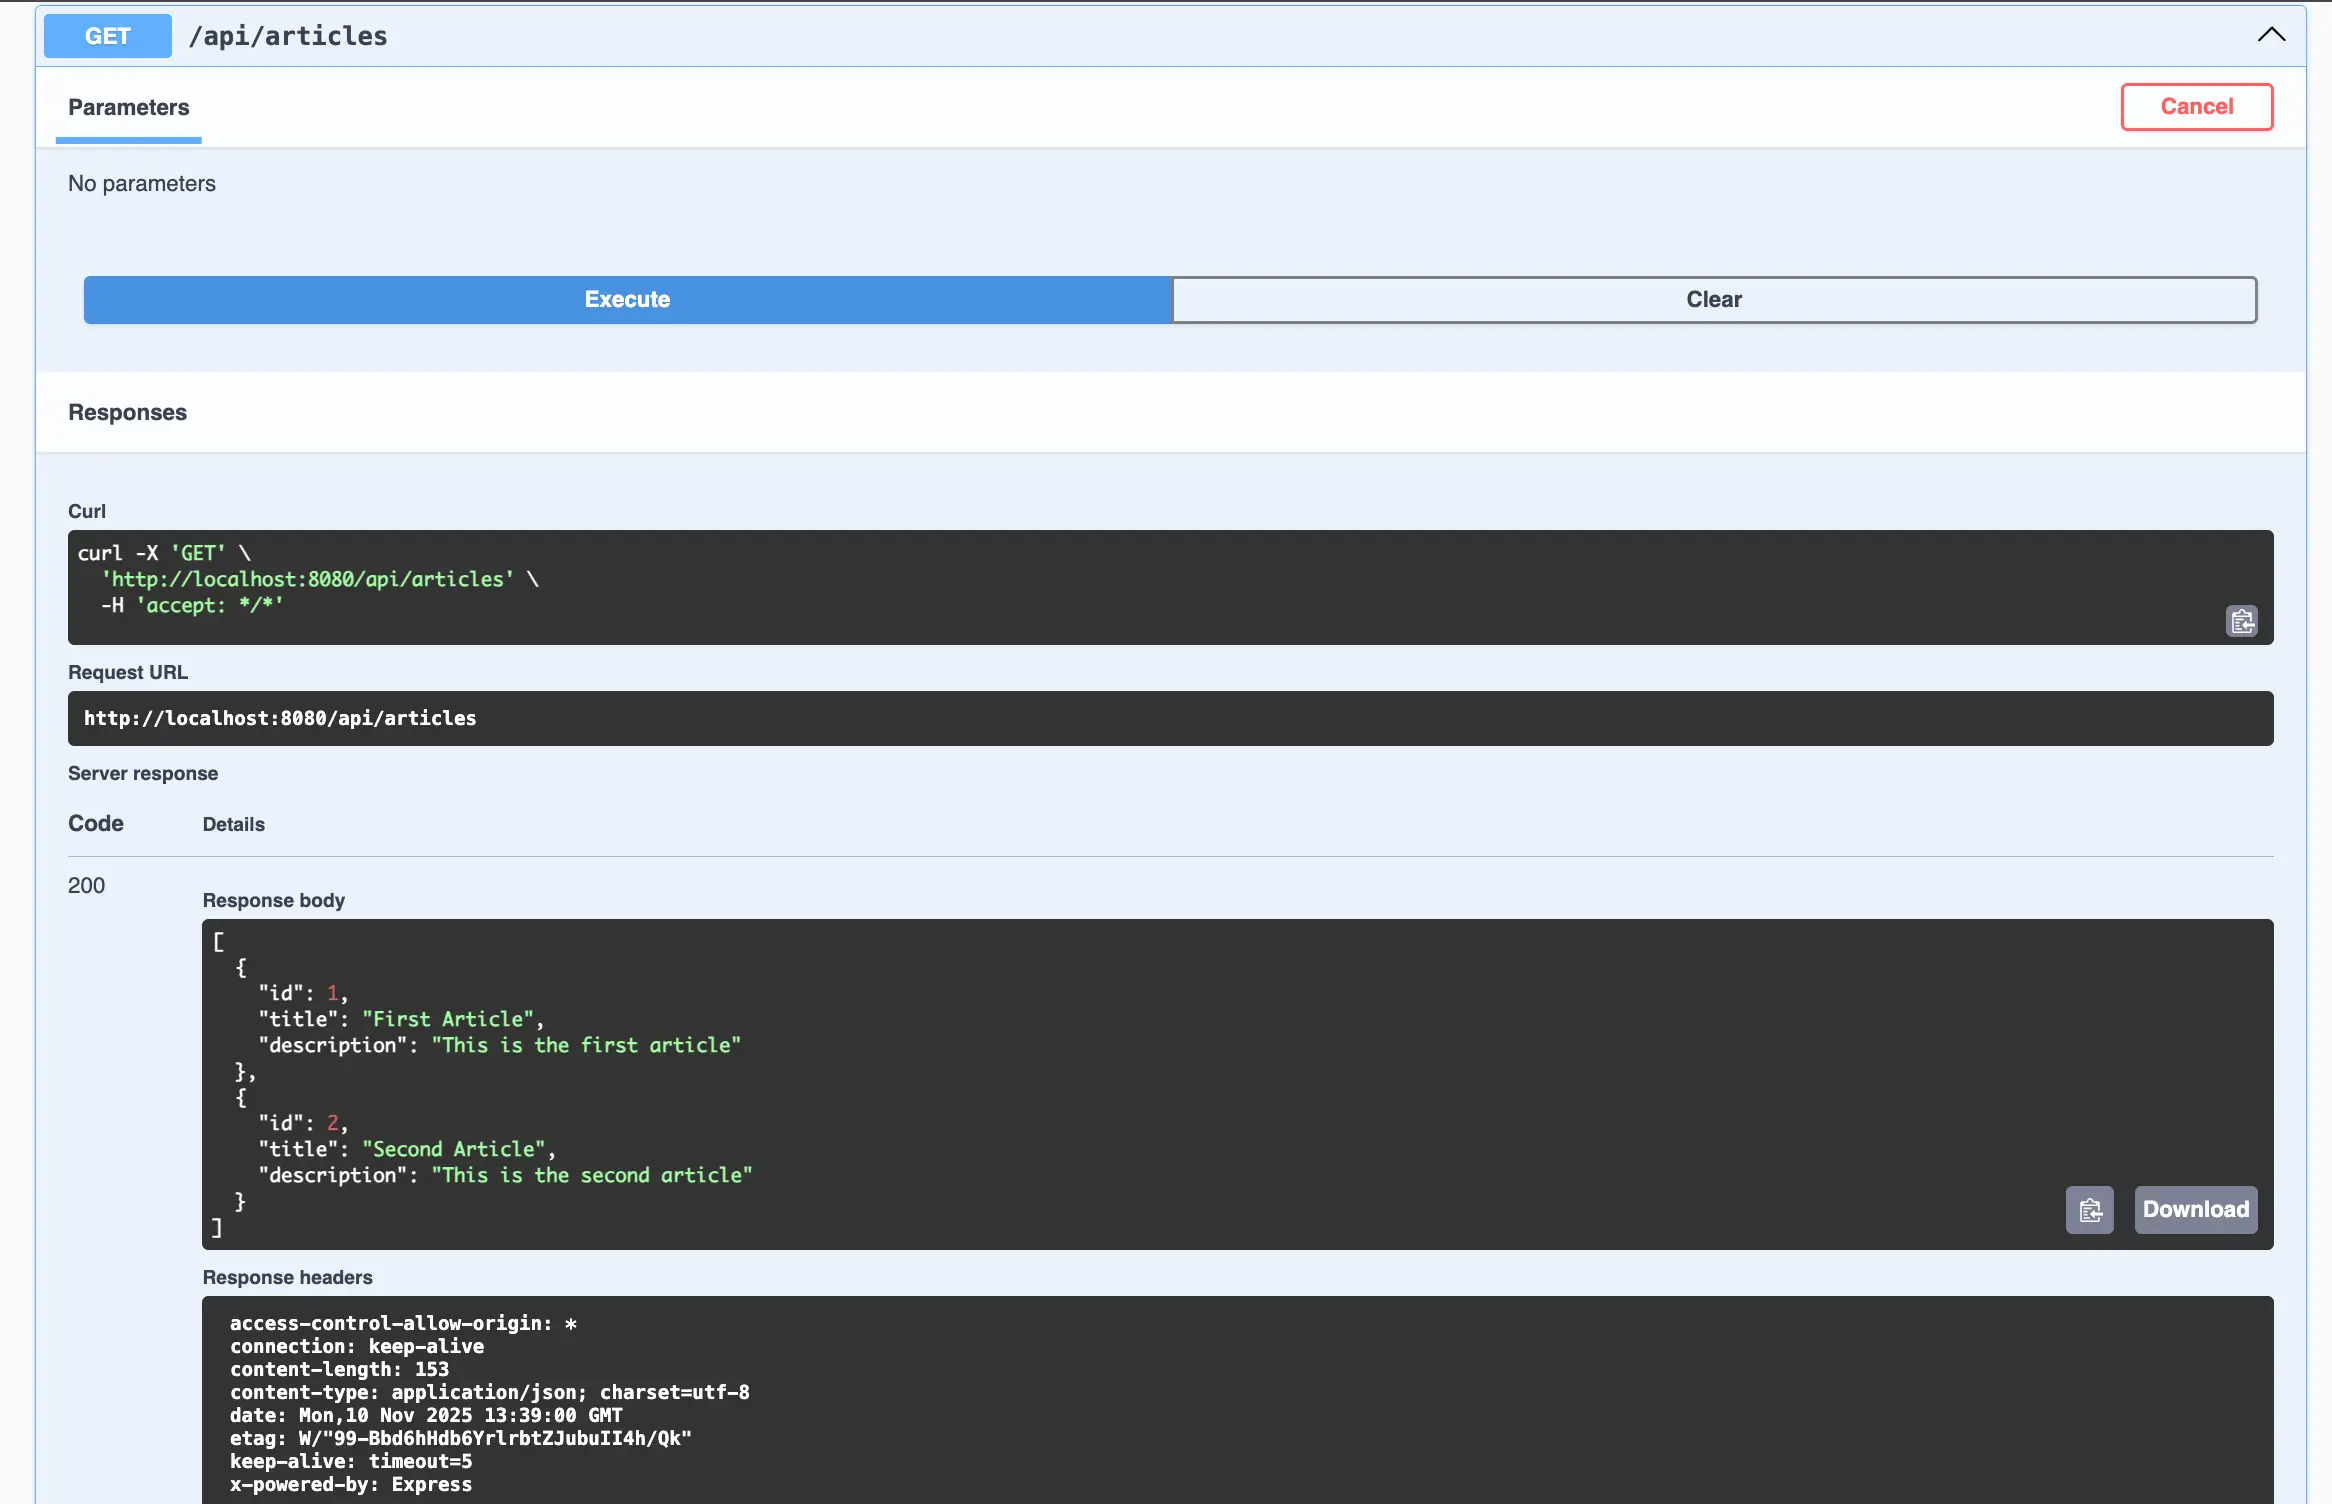
5. Test the Swagger UI
Start your server:
npm start
Then open:
http://localhost:8080/api-docs
You should see all your API endpoints mapped correctly, including the /api prefix if you set basePath: "/api".
6. Update Swagger Docs Automatically
Whenever you modify or add routes, just re-run:
npm run swagger-autogen
This regenerates swagger-output.json with the new endpoints.
7. Optional Enhancements
- Add Request & Response Examples:
// In swagger.js definitions
definitions: {
  Article: {
    title: "My Article",
    description: "Example content",
    published: true,
  },
},
- Group endpoints by Tags
router.post("/article", async (req, res) => {
  // #swagger.tags = ['Articles']
  // #swagger.description = 'Create a new article'
});
- Add parameter descriptions
Use Swagger comments above your route functions for body, query, or path params
swagger-autogenautomatically parses them.
Download the Boilerplate Project
👉 You can download the full working example from the GitHub Repo
Happy learning and thank you for reading!